


Terrain- Giant Rocky Hills

I recently finished a big terrain project. These hills started life as a styrofoam store display for porcelain christmas houses. My friend picked them up for $4 (Thanks, Karl!). They are 4 pieces that fit together to make a 4 foot long display.
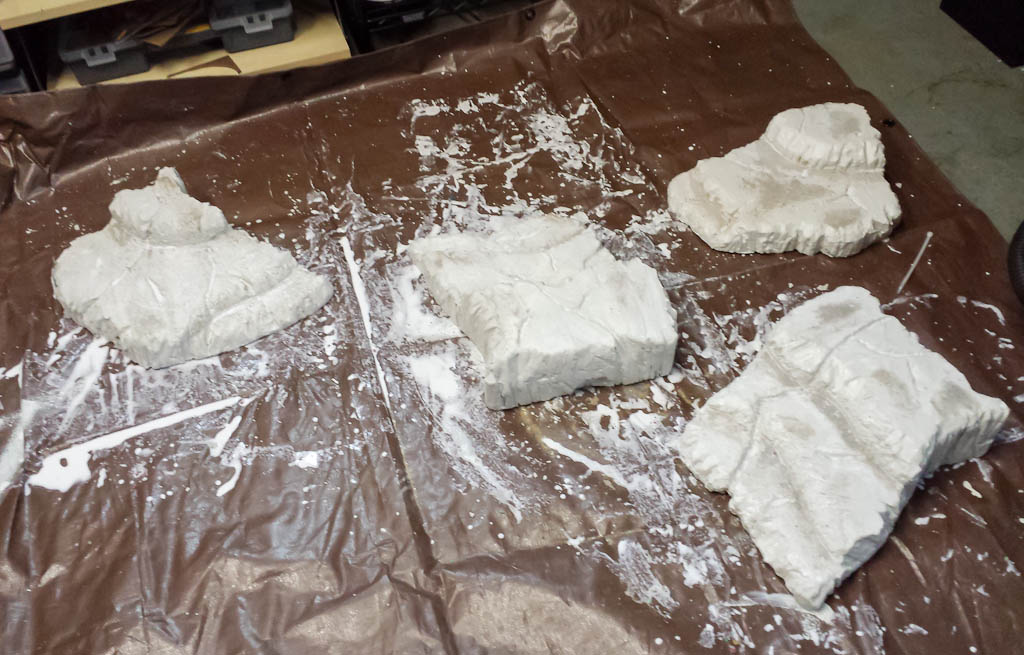
I started by carving the hills using a hot wire foam cutter. I tried to make natural rock like formations. I cut some crevices and caves into the surface using a box cutter. (I forgot to get a picture of this step! so sorry!)

Next, I covered the carved pieces with a plaster mixture. This helped add strength and texture. It also smoothed out some of my rough carving job.
After the plaster dried, I covered all surfaces with watered down PVA glue for added strength and protection. I also added some ballast in spots to build up a texture variance.
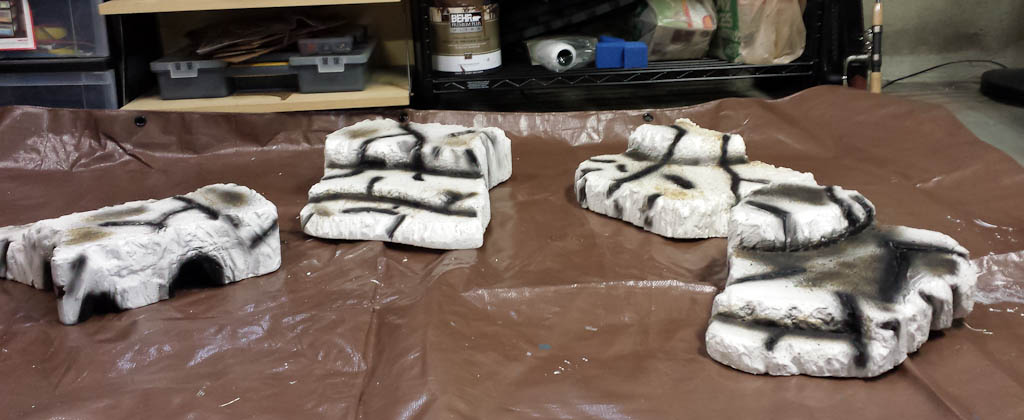
Once the glue dried, I used my airbrush to do some pre-shading of the cracks, caves, and crevices.
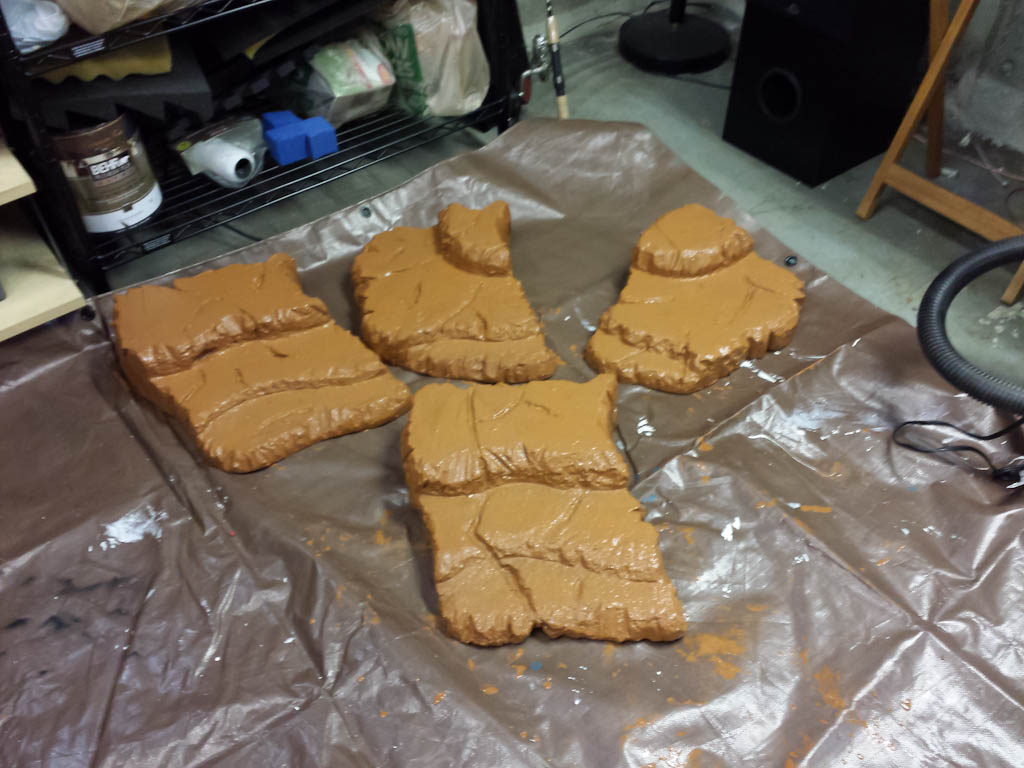
Next, I painted it with some of Karl’s magic texture paint mixture. It’s brown latex paint with some sort of sand mixed into it. As it dried, some spots appeared to shrink/crack, so I did multiple coats, allowing dry time in between.
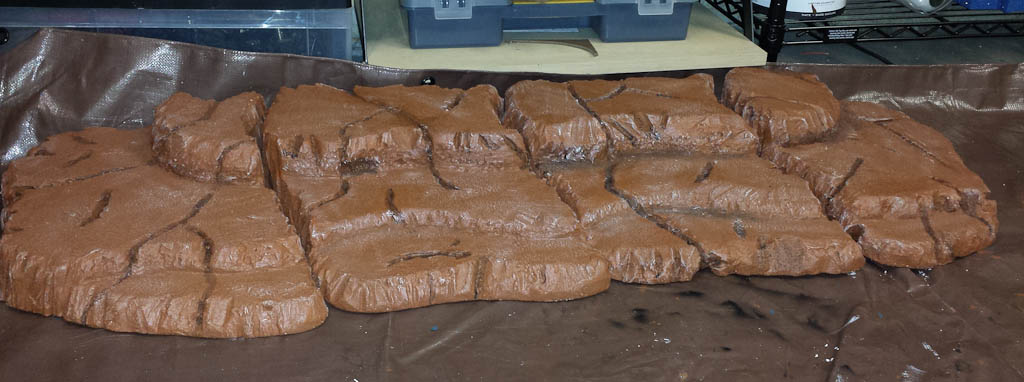
I used GW Agrax Earthshade in the cracks and crevices. I drybrushed the whole thing with GW Terminatus Stone.
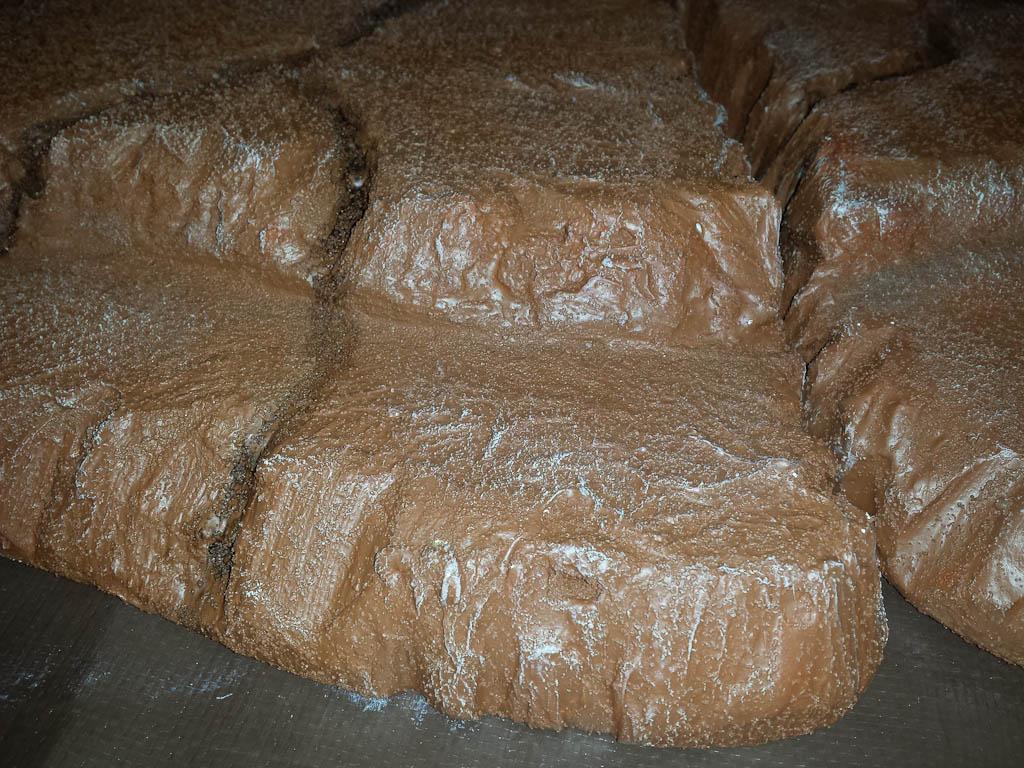
Some of the highlights looked too bright to me, so I drybrushed those spots with GW Skrag Brown to blend them in a bit.

Some flock and shrubbery were the last steps.

At my local hobby shop, I found an ancient package of “Architrees” behind a pile of tank models. They are very small scale wireframe trees for architectural models. I used them as bushes, by simply pushing the wire trunk right into the side of the hill.
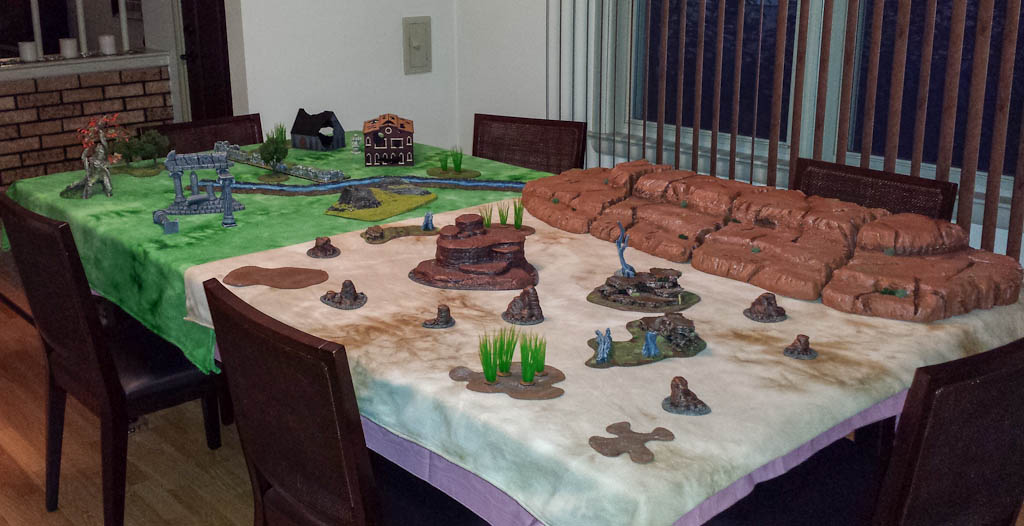
The finished product is a great modular centerpiece for my desert theme table.
Discover more from jlopatin.com
Subscribe to get the latest posts sent to your email.